Removing tile flooring can be a messy, time-consuming, and labor-intensive project if not approached correctly. Whether you’re renovating your home or preparing a commercial space for a fresh new look, understanding the right way to handle removing tile floor can save you significant time, money, and stress.
Before you start chipping away at your tiles, here’s a guide on the important do’s and don’ts to keep in mind.
The Do’s of Removing Tile Floor
1. Do Prepare the Area Properly
Before you begin, clear all furniture, rugs, and valuables from the room. Cover doorways and vents with plastic sheeting to contain dust and debris. Proper preparation minimizes cleanup time and prevents dust from traveling throughout your home.
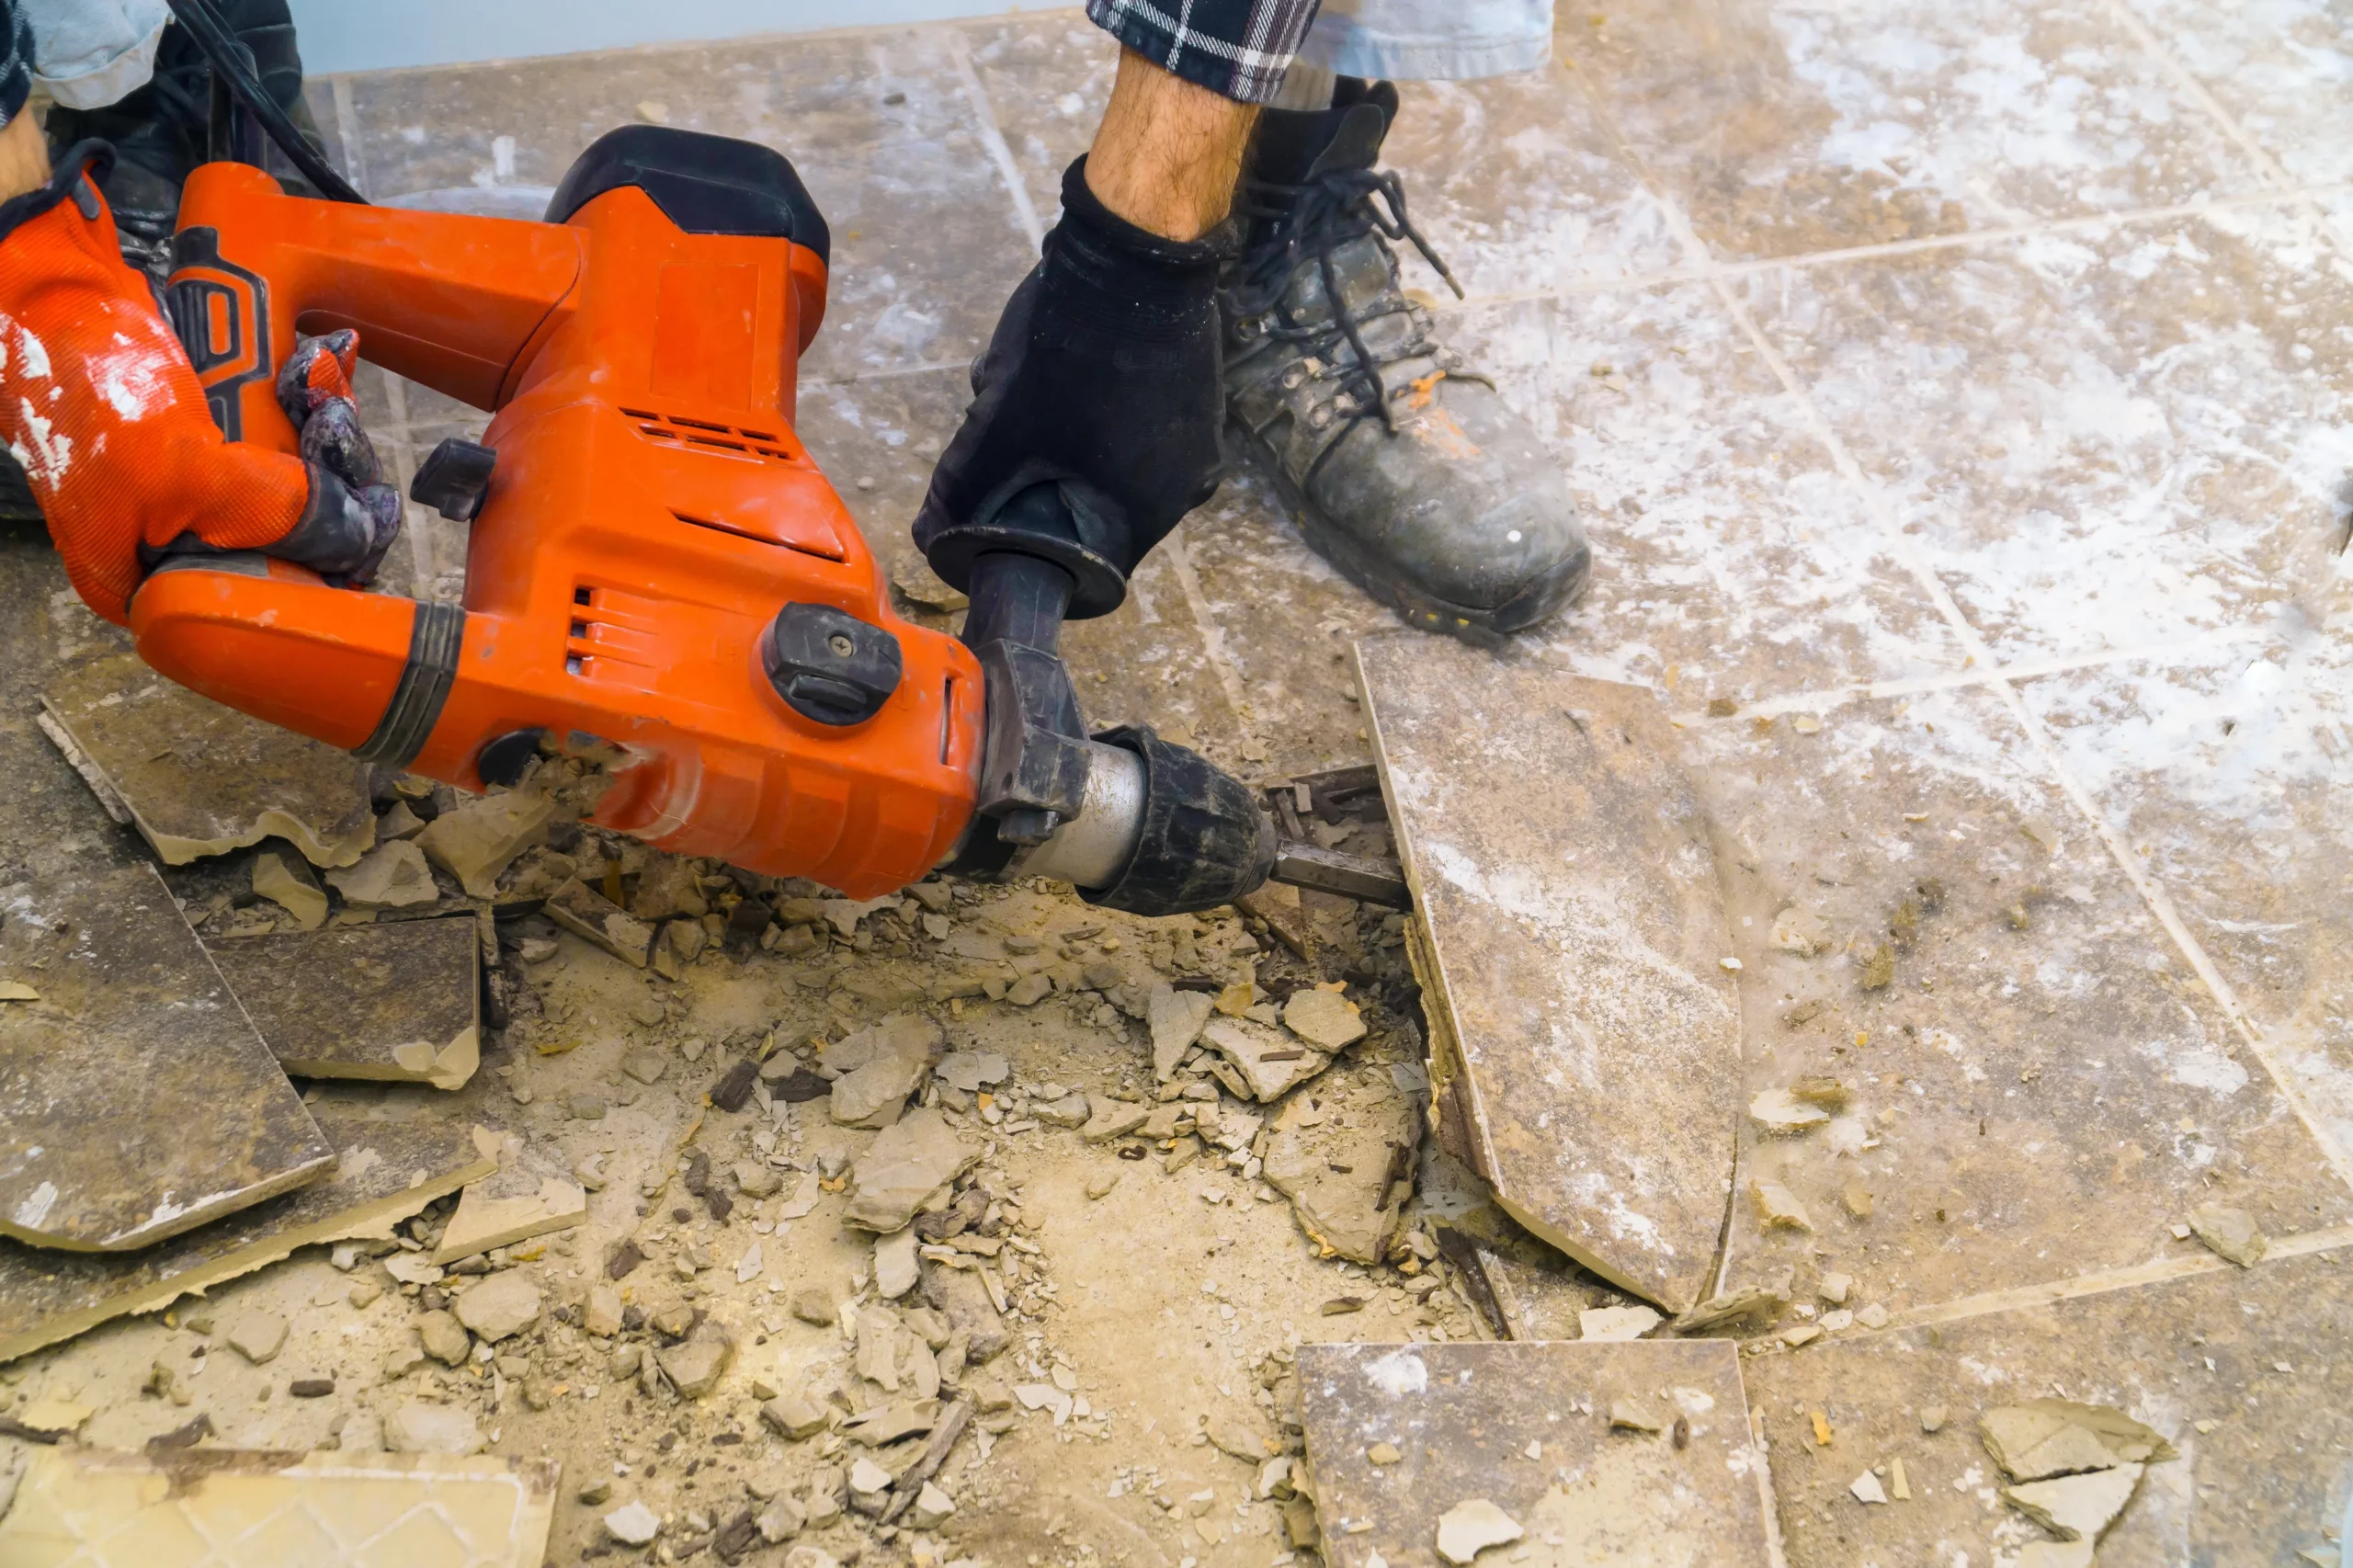
2. Do Wear the Right Safety Gear
Tile removal creates sharp shards, dust, and flying debris. Always wear safety goggles, gloves, a dust mask, and long sleeves to protect yourself during the process.
3. Do Use the Correct Tools
Depending on the type of tile and adhesive used, you may need tools such as a hammer and chisel, pry bar, floor scraper, or an electric tile removal machine. Using the proper tools can make removing tile floor easier and more efficient.
4. Do Protect the Subfloor
If you plan to reuse your subfloor, take care not to gouge, crack, or damage it during removal. Removing tile too aggressively can cause costly damage that must be repaired before installing new flooring.
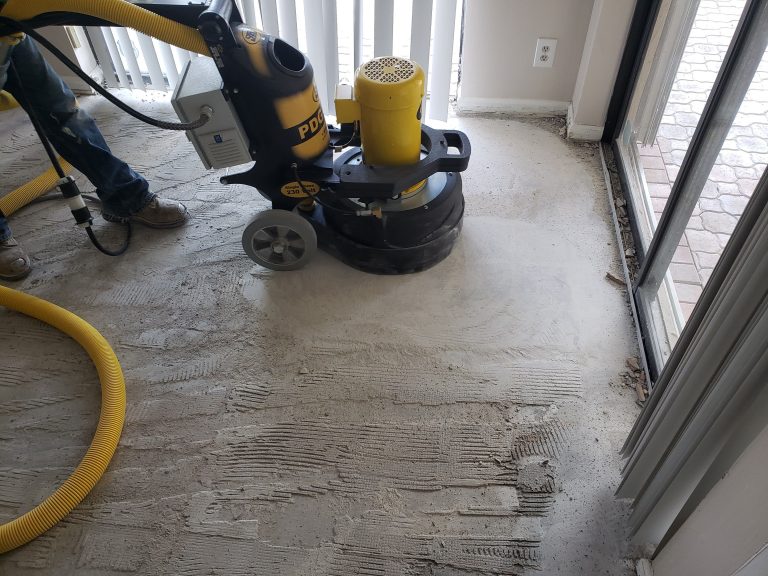
5. Do Contain the Dust
Removing tile creates a significant amount of dust that can negatively affect indoor air quality. Use dust containment systems like HEPA-filtered vacuums or consider a dust-free tile removal service for a cleaner and safer process.
The Don’ts of Removing Tile Floor
1. Don’t Skip the Inspection
Always inspect your flooring and subfloor before starting. If asbestos or hazardous materials are suspected, hire a professional to assess and handle the removal safely.
2. Don’t Underestimate the Labor
Tile removal is physically demanding work. Even small rooms can take hours or days for inexperienced DIYers. Be prepared for heavy lifting, bending, and persistent manual labor.
3. Don’t Forget About Adhesive Removal
Removing the tile is only half the job. Mortar, thinset, and adhesives must be thoroughly removed to create a smooth surface for new flooring installation.
4. Don’t Use the Wrong Equipment
Using inadequate or improper tools can damage your subfloor and prolong the removal process. Always choose tools appropriate for the job or hire professionals with the right equipment.
5. Don’t Assume It’s a One-Day Project
Many DIYers assume tile removal can be done quickly. In reality, factors such as tile size, adhesive strength, and subfloor type can significantly extend the project timeline.
Why Hire Professionals for Removing Tile Floor?
While DIY tile removal is possible, it often leads to unexpected challenges, extended project timelines, and potential damage to your property. Hiring professional tile removal experts ensures:
- Faster and more efficient removal
- Dust-free processes that protect your home and health
- Proper protection of your subfloor
- Complete debris cleanup, saving you additional work
If you want to save time, avoid unnecessary damage, and have a clean, ready-to-renovate surface, professional tile removal is the smart choice.
Get a Free Quote from JBL Flooring Solutions
Planning on removing tile floor in your home or commercial space? Trust the experts at JBL Flooring Solutions for safe, fast, and dust-free tile removal services. Our team uses specialized equipment to make the process as efficient and clean as possible.
Contact JBL Flooring Solutions today for your free tile floor removal quote and let us help you get your project started on the right foot.