
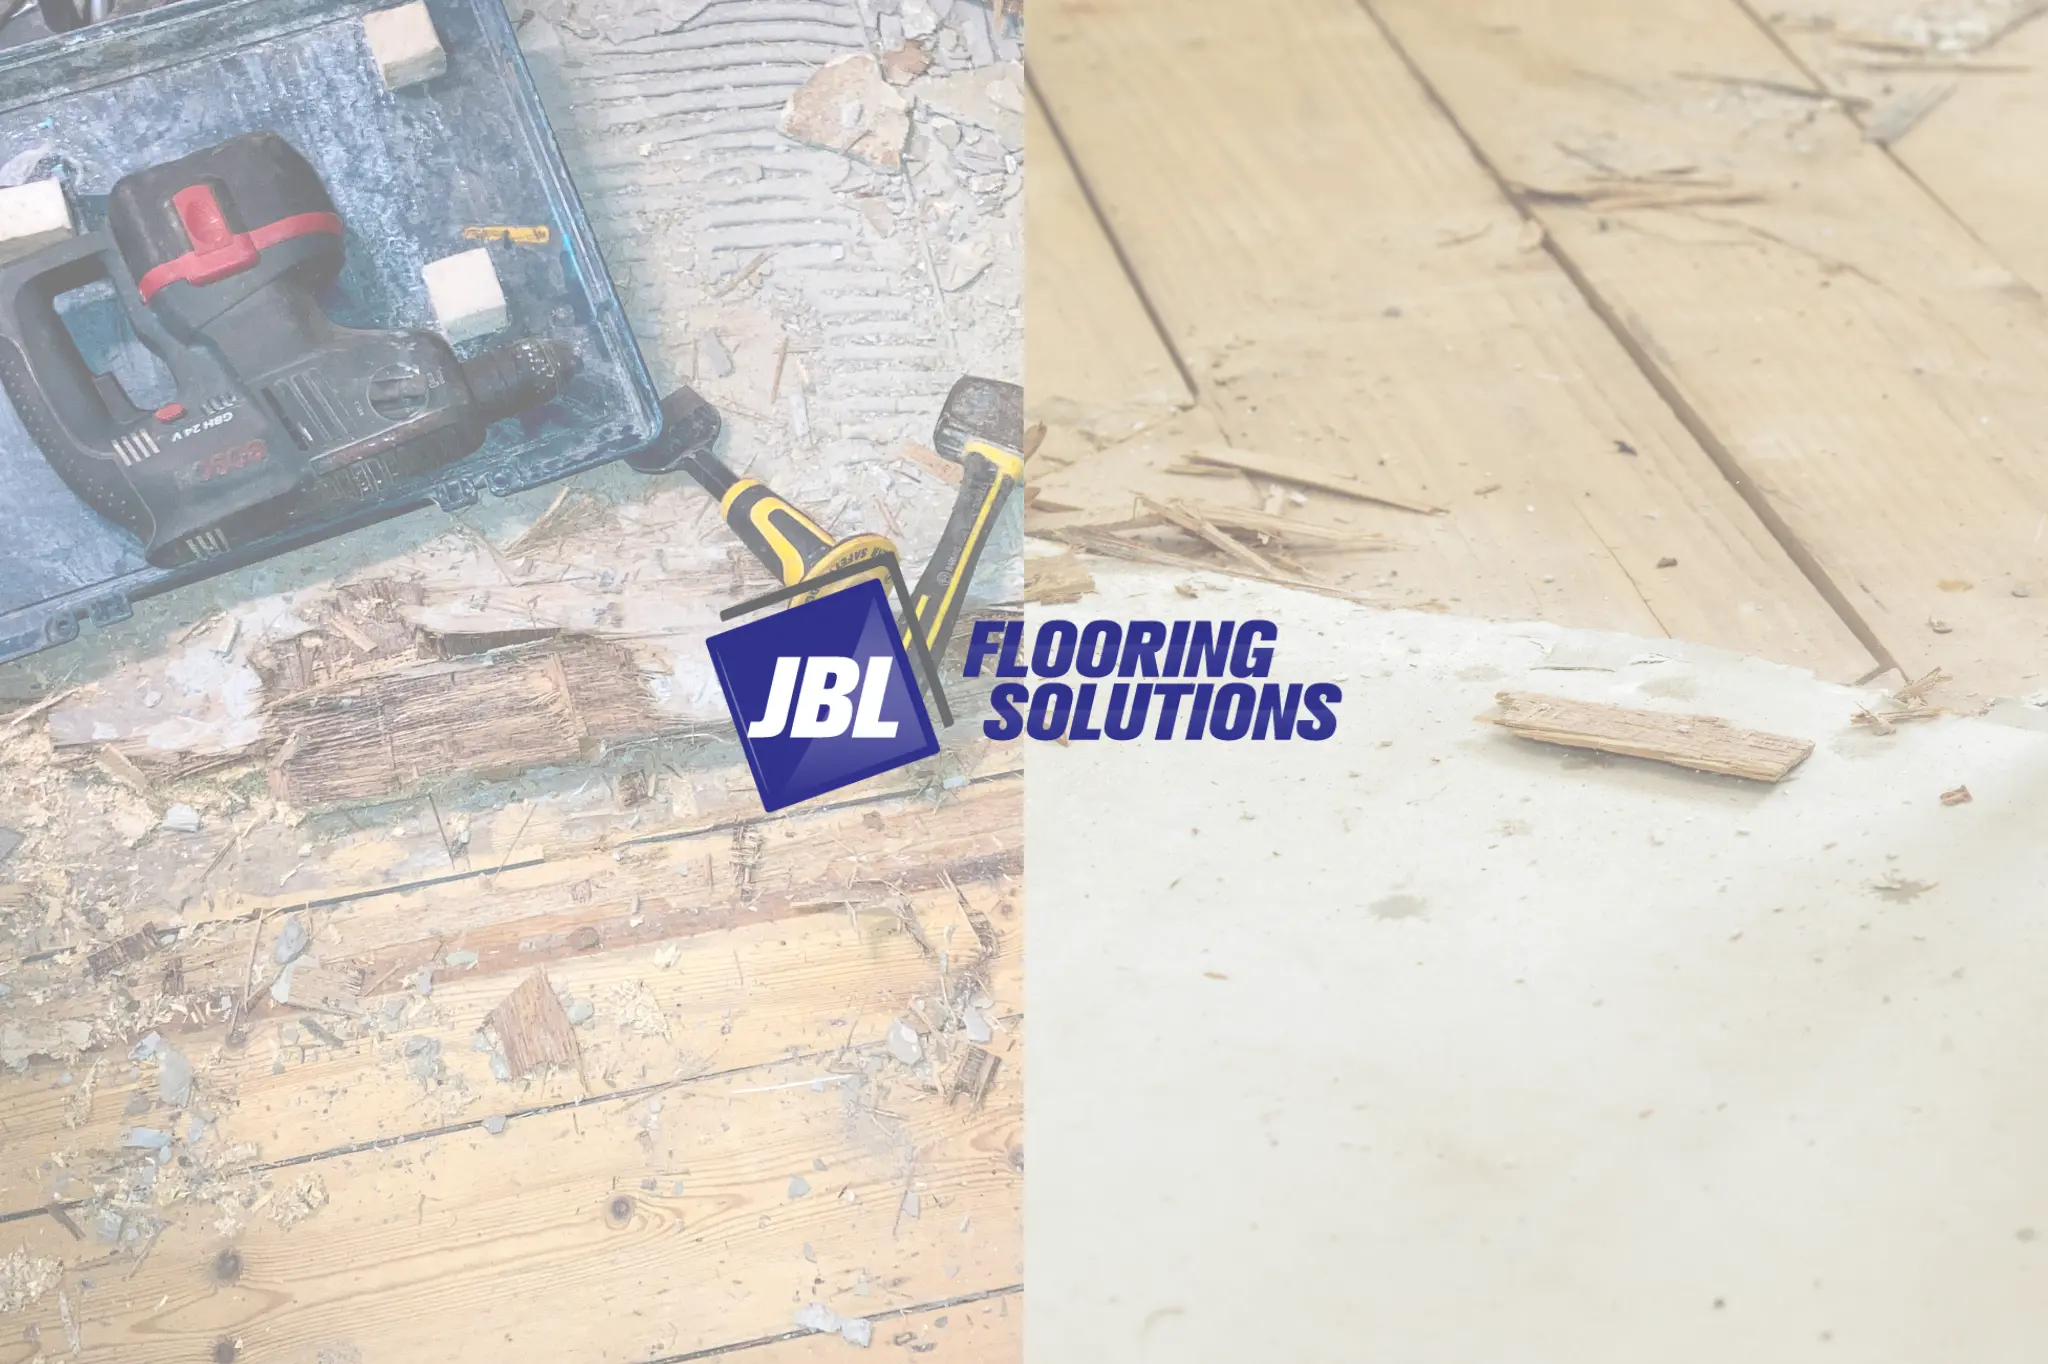
Removing old hardwood flooring is a major milestone in any renovation project, but it’s far from the final step. Once the wood planks are gone, many homeowners are surprised to discover there’s still important work to be done before new flooring can be installed.
Whether you’re replacing worn-out hardwood with tile, luxury vinyl plank, laminate, or new hardwood, understanding what happens after hardwood flooring is removed can help you avoid delays, unexpected costs, and installation issues later.
At JBL Flooring Solutions, we specialize in professional wood floor removal throughout South Florida. Our team not only removes the flooring but also prepares the subfloor so your renovation starts with the best possible foundation.
The Flooring May Be Gone, but the Work Isn’t Finished
Many people assume that once the hardwood is removed, the room is immediately ready for new flooring. In reality, removing the wood is only the first phase of the project.
Depending on how the floor was installed and its overall condition, several additional steps may be required before installers can begin laying new flooring.
These steps often include:
- Removing adhesive or fasteners
- Inspecting the subfloor
- Repairing damaged areas
- Cleaning debris
- Leveling uneven surfaces
- Moisture testing
Completing these tasks properly helps ensure your new flooring performs exactly as intended.
Step 1: Inspect the Subfloor
One of the biggest advantages of removing hardwood flooring is finally being able to see what’s underneath.
Once the flooring has been removed, contractors inspect the subfloor for:
- Cracks
- Water damage
- Soft spots
- Loose panels
- Uneven surfaces
- Previous repairs
Problems hidden beneath old flooring often go unnoticed for years.
If these issues aren’t addressed before new flooring is installed, they can lead to squeaks, uneven surfaces, premature wear, or even flooring failure.
If you’re planning professional wood floor removal, learn more about our removal process here.
Step 2: Remove Remaining Adhesive or Fasteners
Not every hardwood floor is installed the same way.
Some floors are:
- Glued directly to concrete
- Nailed into plywood
- Stapled to the subfloor
- Installed using multiple fastening methods
After the wood flooring has been removed, leftover materials often remain.
These include:
- Construction adhesive
- Nails
- Staples
- Wood splinters
- Glue residue
Removing these materials is essential before installing new flooring.
Leaving behind old fasteners or adhesive can create uneven spots that affect the finished floor.
Step 3: Repair the Subfloor if Necessary
Once the surface is exposed, damaged areas can finally be repaired.
Common repairs include:
- Filling cracks
- Replacing damaged plywood
- Repairing moisture-damaged sections
- Tightening loose panels
- Leveling low spots
Skipping these repairs may save time initially, but it often leads to expensive problems after the new flooring is installed.
Step 4: Check for Moisture
In South Florida, moisture is one of the biggest threats to flooring.
Before installing new materials, contractors often check the subfloor for excess moisture.
Moisture problems can result from:
- Plumbing leaks
- Previous flooding
- High humidity
- Concrete vapor transmission
Identifying moisture before installation helps protect your investment and reduces the likelihood of future flooring failures.
Step 5: Prepare the Surface for New Flooring
Every type of flooring has different installation requirements.
For example:
Tile Flooring
Tile requires a stable, clean, and level surface.
If you’re planning a tile installation after hardwood removal, proper surface preparation is essential.
Luxury Vinyl Plank
Luxury vinyl plank performs best on smooth, flat surfaces.
Even small imperfections beneath the flooring can become noticeable over time.
Laminate Flooring
New laminate flooring also requires a clean, level subfloor.
Old adhesive, nails, or damaged underlayment should be removed before installation begins.
What Hidden Problems Are Sometimes Found?
One reason homeowners hire JBL Flooring Solutions is that flooring removal often uncovers issues they didn’t know existed.
Examples include:
- Water damage
- Mold
- Old flooring layers
- Cracked concrete
- Damaged plywood
- Improper previous repairs
- Loose subfloor panels
Finding these problems before installing new flooring can save thousands of dollars in future repairs.
Should You Install New Flooring Immediately?
In many cases, yes.
However, installation should only begin after:
- The subfloor has been inspected.
- Necessary repairs are complete.
- Moisture issues have been resolved.
- Adhesive and fasteners have been removed.
- The surface is clean and level.
Rushing this stage can create problems that are much more difficult to correct later.
Why Professional Removal Makes the Next Steps Easier
DIY hardwood removal often focuses only on getting the flooring out.
Professional flooring removal takes a much more complete approach.
At JBL Flooring Solutions, we don’t simply remove hardwood flooring—we help prepare your property for the next phase of the renovation.
Our services include:
- Hardwood floor removal
- Adhesive removal
- Fastener removal
- Subfloor inspection
- Debris cleanup
- Surface preparation
By completing these steps correctly, we help homeowners avoid unnecessary delays once the new flooring installer arrives.
How Long Does Subfloor Preparation Take?
The answer depends on the condition of the floor beneath the hardwood.
If the subfloor is in excellent condition, preparation may only take a few hours.
If significant repairs are required, additional time may be needed for:
- Moisture remediation
- Concrete grinding
- Adhesive removal
- Patching damaged areas
- Leveling the surface
A professional inspection can provide a much more accurate project timeline.
Common Mistakes Homeowners Make
Many homeowners focus entirely on removing the hardwood and overlook what comes next.
Some of the most common mistakes include:
- Installing new flooring over adhesive residue
- Ignoring moisture problems
- Skipping subfloor repairs
- Failing to level the surface
- Leaving old nails or staples behind
These shortcuts often reduce the lifespan of the new flooring.
Why Homeowners Choose JBL Flooring Solutions
Flooring removal is only part of what we do.
Our goal is to leave every project ready for a successful flooring installation.
Homeowners throughout South Florida choose JBL Flooring Solutions because we:
- Specialize exclusively in flooring removal
- Remove hardwood, laminate, tile, vinyl, and carpet
- Properly inspect the subfloor
- Prepare surfaces for new flooring
- Complete projects efficiently
- Maintain clean job sites
Instead of spending days removing hardwood flooring yourself and wondering if the surface is truly ready for installation, our experienced team can complete the project while helping ensure your renovation stays on schedule.
Final Thoughts
Understanding what happens after hardwood flooring is removed is just as important as the demolition itself.
The condition of the subfloor plays a major role in the performance and lifespan of your new flooring. Taking the time to inspect, repair, and prepare the surface properly helps ensure your investment lasts for years to come.
If you’re planning a flooring renovation anywhere in South Florida, JBL Flooring Solutions can help. From professional wood floor removal to complete subfloor preparation, we provide the services homeowners need to start every flooring project with confidence.


