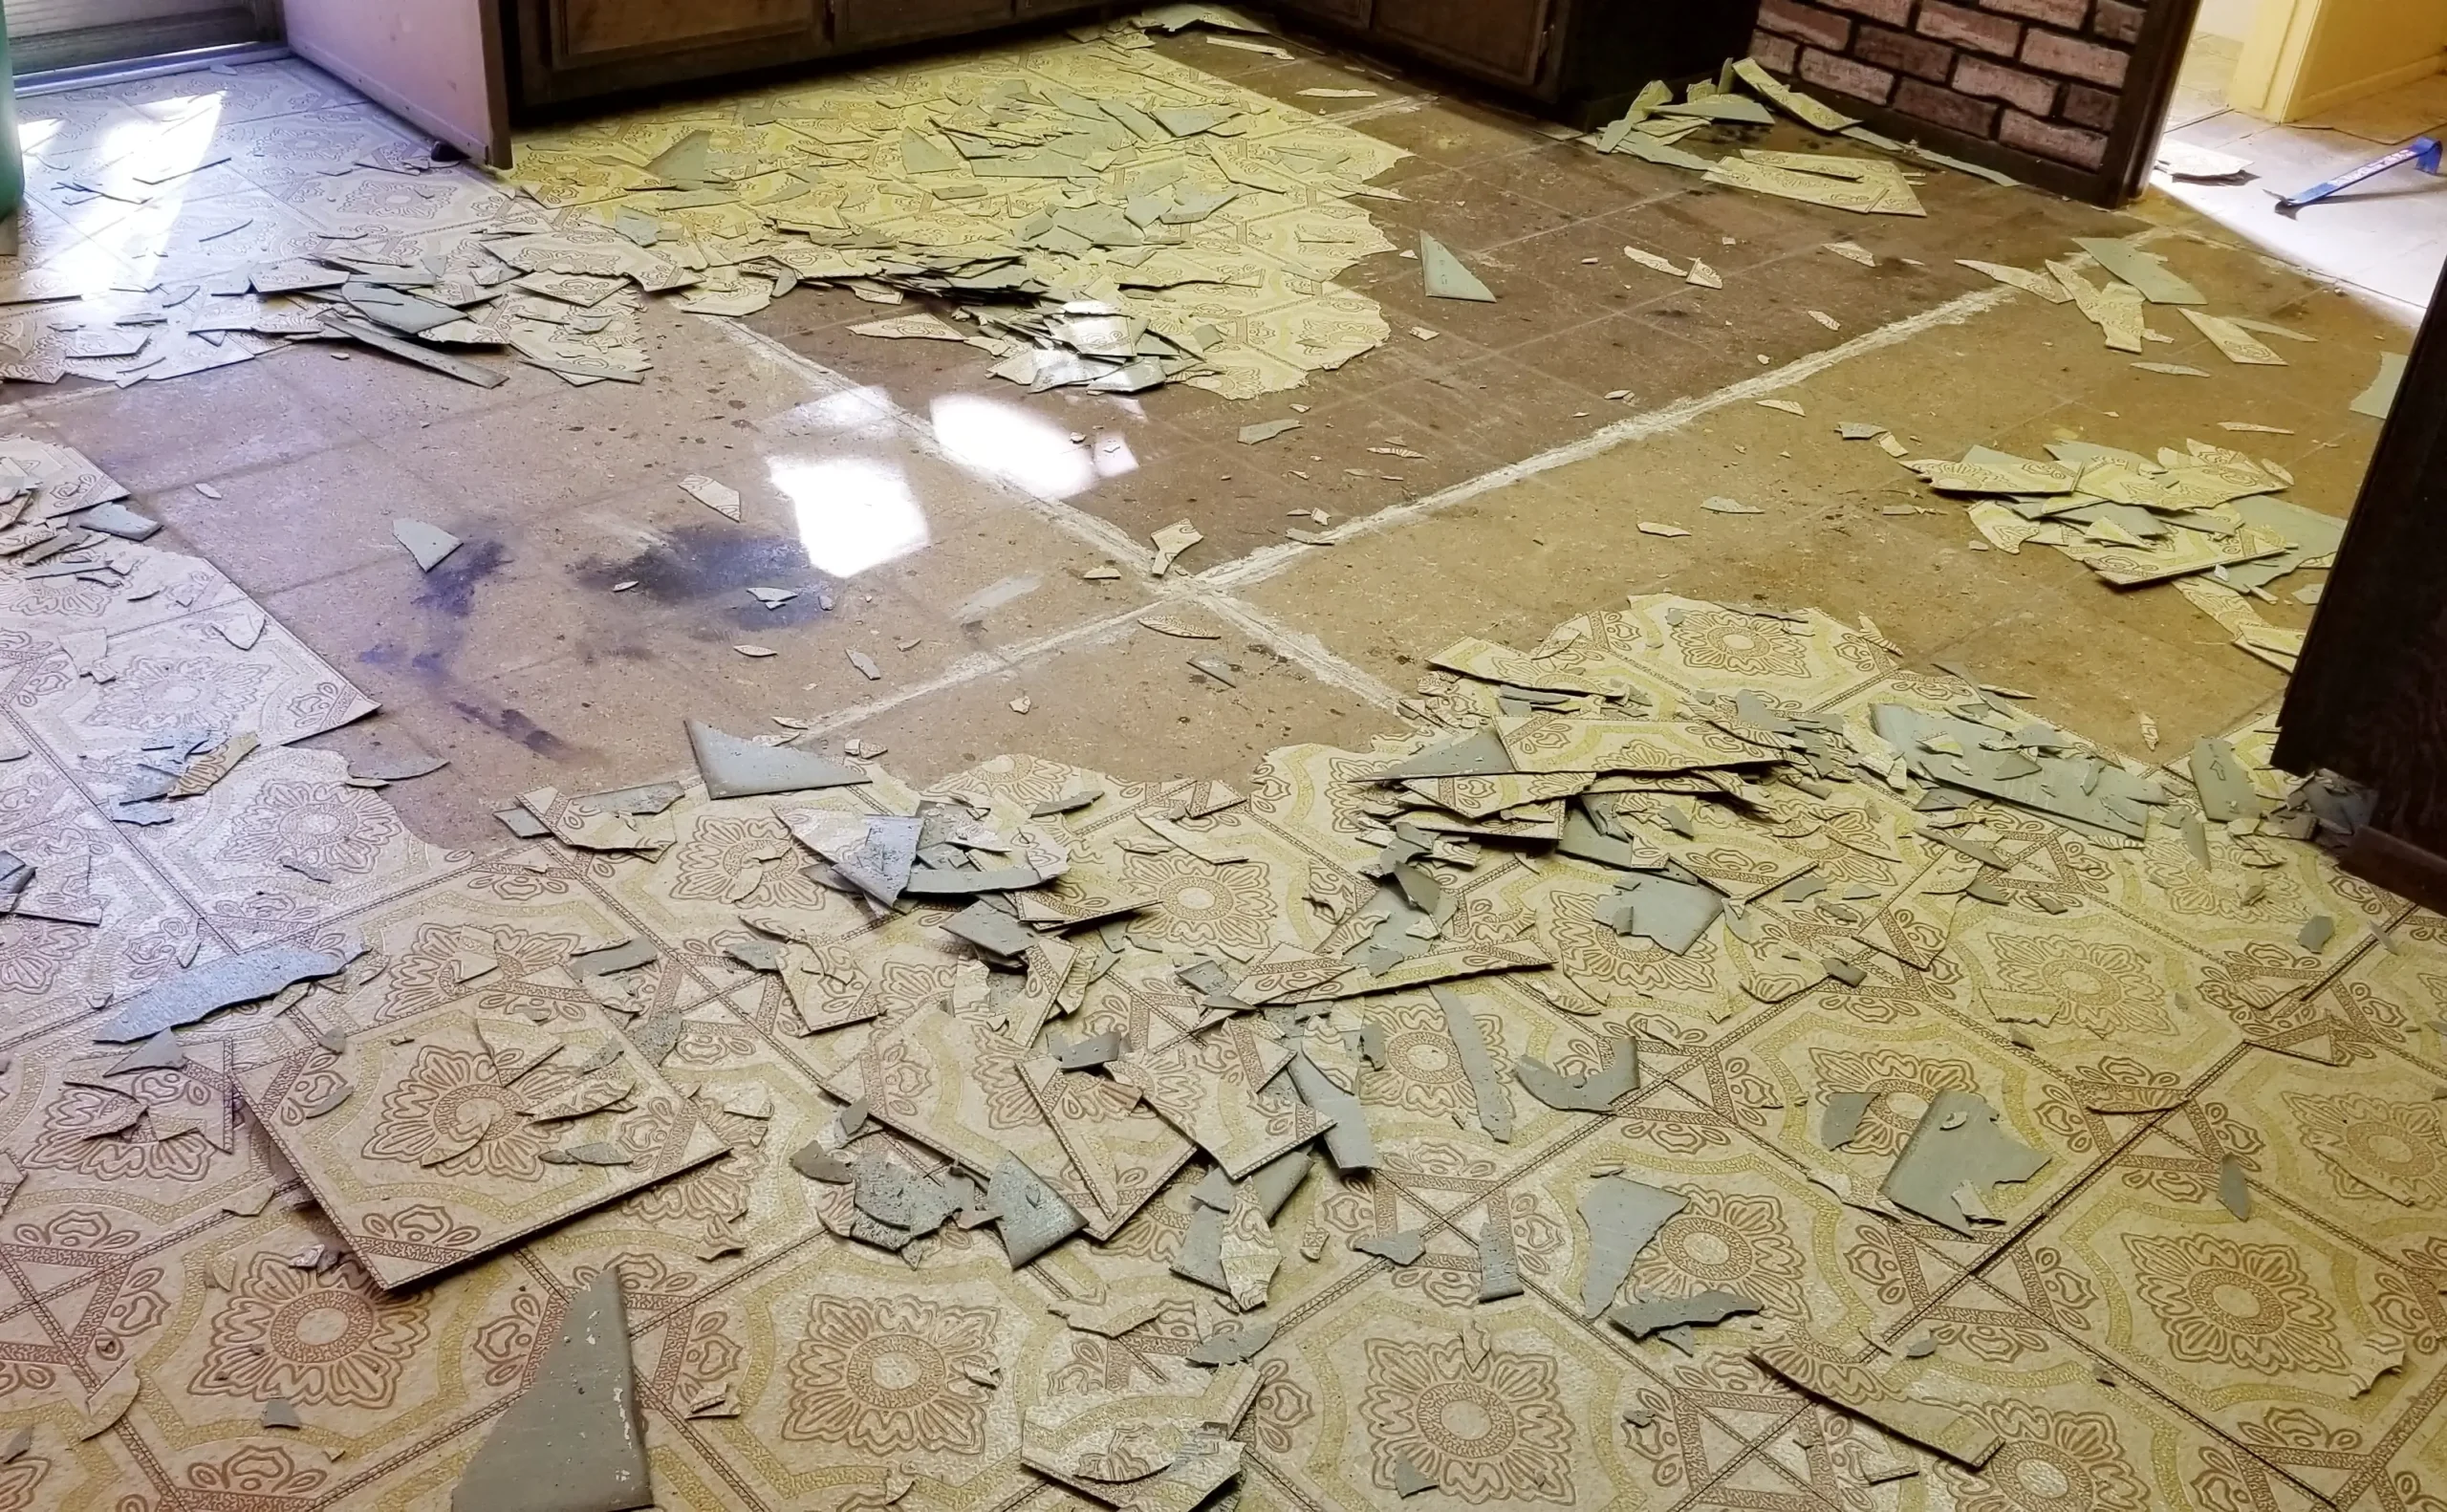
Homeowners planning a remodel want a clear tile removal timeline so they can schedule installers, painters, or deliveries without surprises. The short answer is that professional crews typically finish in hours, while DIY projects often stretch into days. The long answer depends on the factors below, and choosing the right approach can save you significant time, money, and cleanup.
What Drives Your Tile Removal Timeline
- Square Footage
Larger areas take longer, but production rates improve with professional equipment. - Tile Type
Ceramic and porcelain usually lift faster than stone, Saltillo, or thick quarry tile. - Installation Method
Thinset on concrete removes faster than old mud beds, thick mortar, or glue-down systems. - Subfloor or Slab
Concrete is more forgiving during removal, wood substrates require extra care to avoid damage. - Thinset or Adhesive Condition
Bond strength and thickness can double the timeline if heavy grinding is required. - Access and Logistics
Stairs, elevators, tight hallways, and debris hauling routes add time. - Occupied vs. Vacant
Furniture moving, appliance disconnects, and protection of adjoining rooms impact speed. - Dust Control Method
True dust-collection systems speed up work and eliminate post-demo cleanup time.
Contractor Timelines, What to Expect With Pros
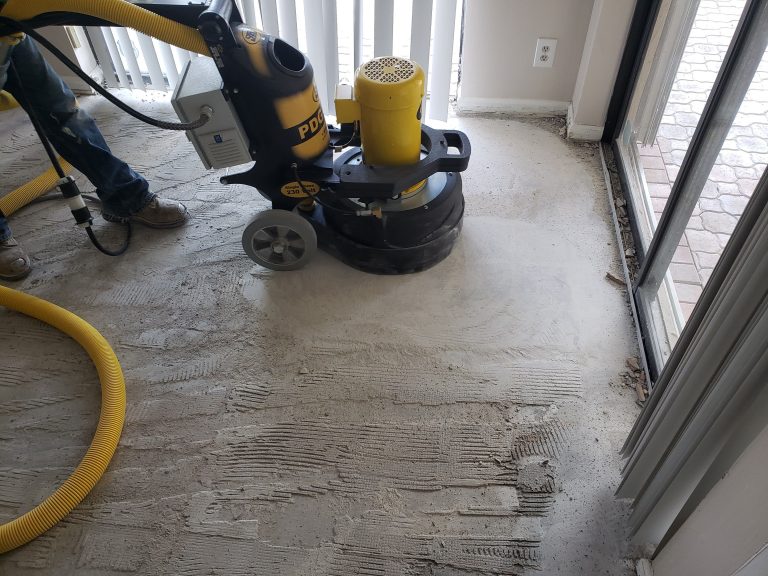
Professionals using commercial removal machines, HEPA vacuums, and dust-control systems move quickly and leave the substrate ready for installation.
- Small Bathroom, 40–100 sq ft
3 to 6 hours including tile, thinset grind, and cleanup. - Kitchen or Hall, 120–250 sq ft
About 5 to 8 hours, typically completed same day. - Open Living Area, 300–600 sq ft
Approximately 1 working day, sometimes less with clear access. - Whole First Floor, 700–1,200 sq ft
1 to 2 days depending on thinset thickness, furniture, and disposal logistics. - Commercial Suites, 1,000+ sq ft
Phased removal scheduled around business hours, often 1–3 days with a full crew.
Why pros are faster
- High-torque chipping and scraping equipment lifts tile efficiently.
- On-tool vacuums and shrouds keep visibility clear and eliminate end-of-day cleaning.
- Experienced crews read the install method quickly, then choose the best removal technique.
- Debris handling is continuous, so production never stalls.
DIY Timelines, Realistic Expectations
Even with rented tools, DIY removal usually takes two to three times longer than a professional job and creates substantial dust.
- Small Bathroom, 40–100 sq ft
1 to 2 full days, plus a half day of cleanup and dump runs. - Kitchen or Hall, 120–250 sq ft
2 to 3 days, more if thinset is stubborn. - Open Living Area, 300–600 sq ft
4 to 7 days including grinding leftover thinset and cleanup. - Common DIY delays
Bonded thinset that requires grinding, frequent blade changes, tool fatigue, debris hauling limits, and protecting adjacent areas after dust spreads.
Hidden costs of DIY
- Respiratory protection, plastic sheeting, filters, and specialty tools add up.
- Dust infiltration into HVAC and adjoining rooms extends cleanup for days.
- Subfloor gouges or cracked slab repairs delay the next trade and increase costs.
How Thinset and Adhesive Affect the Clock
- Standard Thinset on Concrete
Fast removal, light grinding to a smooth profile. - Heavy Thinset or Old Mud Bed
Adds hours due to deeper chipping and longer grinding. - Cutback or Mastic Adhesives
Requires careful mechanical removal and safe handling, adds time for containment and disposal. - Moisture or Flood Damage
Wet or compromised substrates require extra prep before new flooring can go down.
Preparation Checklist to Shorten the Timeline
- Clear furniture and personal items from the work zone, and from primary pathways.
- Unplug or disconnect appliances that sit on tile, and plan temporary placements.
- Reserve elevators or loading areas if you are in a multi-unit building.
- Provide parking for equipment trailers and debris hauling.
- Confirm building quiet hours, access windows, and any HOA requirements.
- Crate pets, secure children’s areas, and identify a dust-free room for daily living.
- Discuss disposal, substrate expectations, and final cleanup with your contractor.
Contractor vs. DIY, Time Comparison at a Glance
- Speed
Pros finish most residential rooms in a single day, DIY often takes an entire weekend or longer. - Cleanliness
Professional dust collection eliminates lingering cleanup, DIY typically requires extended post-demo cleaning. - Readiness for Installers
Contractor removal includes smooth, installation-ready surfaces, DIY projects often need a pro to correct thinset ridges and substrate damage. - Risk
Pros protect slabs and wood subfloors, DIY increases chances of costly repairs and schedule slip.
Why Homeowners Choose JBL Flooring Solutions
- Dust-managed systems with HEPA filtration that protect indoor air quality.
- Production rates that keep remodels on schedule, often same-day completion for kitchens and baths.
- Careful substrate protection and thinset or adhesive removal that meets installer specifications.
- Full debris removal, so you are truly ready for the next phase.
- Licensed, insured, and experienced crews who communicate clearly and arrive prepared.
If you want a predictable tile removal timeline, experienced crews and the right equipment are the difference between a one-day demo and a multi-day cleanup.
Ready To Keep Your Project On Schedule
If your remodel cannot afford delays, work with trusted tile removal contractors who remove tile quickly, protect your home, and turn the space over clean and installation-ready. Contact JBL Flooring Solutions for a free quote and reliable scheduling.


